|
Size: 2108
Comment:
|
Size: 2476
Comment:
|
| Deletions are marked like this. | Additions are marked like this. |
| Line 11: | Line 11: |
| * Need to make a page similar to [[http://gwwiki.icrr.u-tokyo.ac.jp/JGWwiki/KAGRA/subgroup/AOS/TMSY1/TMSY1GreenOpticsMemo|here]]. | * Need to make a summary page similar to [[http://gwwiki.icrr.u-tokyo.ac.jp/JGWwiki/KAGRA/subgroup/AOS/TMSY1/TMSY1GreenOpticsMemo|here]]. |
| Line 13: | Line 13: |
| * AAAA | * A reference is [[http://gwwiki.icrr.u-tokyo.ac.jp/JGWwiki/KAGRA/subgroup/AOS/TMSY1/2018-03-27|here]] * Firstly we put two diaphrams; let's call them '''''iris-1''''' and '''''iris-2'''''. The '''''iris-1''''' is at the back of the BRT2 lens, while the '''''iris-2''''' is in front of the BRT2 lens. {{attachment:Brt20181003.png|Iris position|width="400" }} |
20181003
Today's activities
Workers: Akutsu, K. Nagano, Aritomi K. Tanaka, Kita
- Akutsu cleaned each side of the optical parts to be installed into the chamber (on the BRT) just using ethanol only. So I omitted acetone and First Contact... Anyway, they are
- CVI's HM-2037-45
- Thorlabs's HBSY21
- Opto Sigma's special one: TFMQSP-50.8C10-20-532/1064-0/26D
- Opto Sigma's SLB-50.8-200NM
Need to make a summary page similar to here.
- Started the alignment of the BRT using the green transmitted beam. It is still on the way.
A reference is here
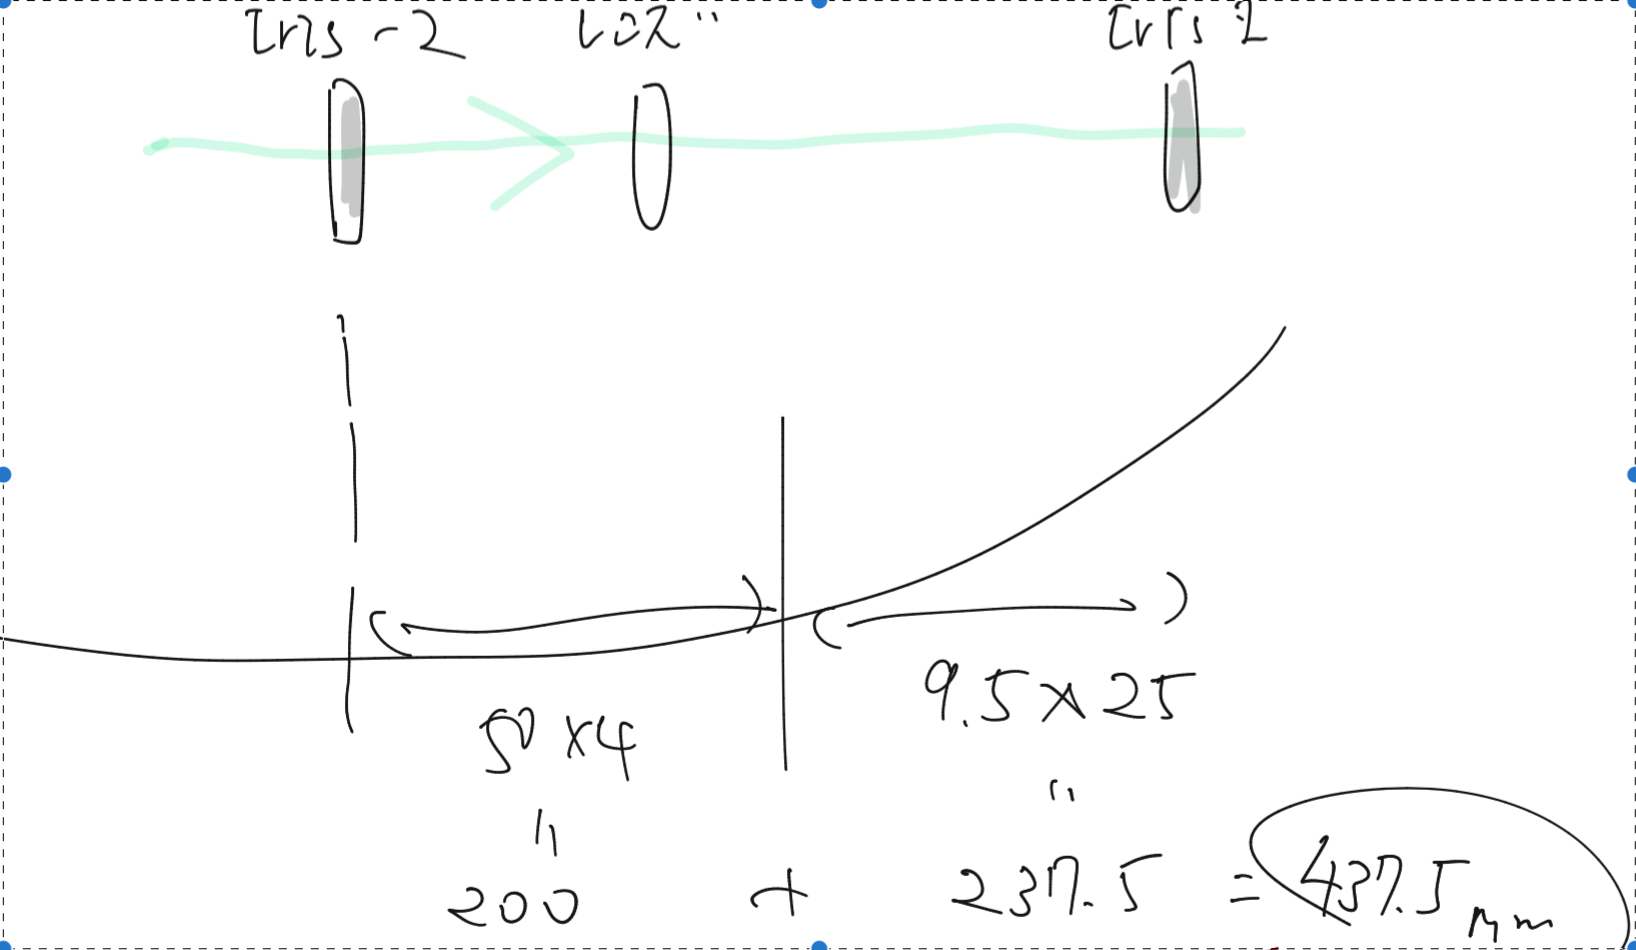
Firstly we put two diaphrams; let's call them iris-1 and iris-2. The iris-1 is at the back of the BRT2 lens, while the iris-2 is in front of the BRT2 lens.

- BBBB
Next plan
Wash an imo-screw for connecting the lens holder and the lower pile.
- Align and balance the BRT and the TMS-VIS.
- Configure the digital models properly.
Clean the sides of the optics to be installed into the vacuum chamber. (Ethanol+Acetone wiping with vectra alpha, then First Contact.) See here.
- Detach the remaining white tapes just before closing the chamber; be noted that there are white tapes on the PEEK connectors at the inside of the flanges.
- Torque completely the bolts which are fixing the upper and the lower base plates.
- Insert metal gaskets before torquing the ICF203 flanges with Dsub connectors.
- Check horizontal actuation
- Calibrate LVDT again
- Put calibration factor of Geophones
- Install Tome-Kanagu for Dsub in DAC0 port #4
- Put tags to cables
- Align BRT
- Start to install GPT part
- Damping of TMS-VIS
Wanted!
- Tester!! lend from DGS or PEM??
- M8 eyebolts for managing the dummy weight plates...
- First contact to clean the side diameter of the optics.
- Need a signal generator for LVDTs
- A document for learning how to release or fix the suspended tables (by Uraguchi?).
- Cable tags
- IR mirrors (4 PYD-20, 3 PYD-10)
- Tome-Kanagu for Dsub
- Power taps
- ONE DAC PORT!!!!
