|
Size: 2372
Comment:
|
Size: 2751
Comment:
|
| Deletions are marked like this. | Additions are marked like this. |
| Line 13: | Line 13: |
| The PC is always powered on (don't shut it down !). It is connected to the projector through the blue striped HDMI connector visible in the above photo. You only need to start up the projector. Then you should be able to see the screen of the PC on the projected screen. | The PC is always powered on (don't shut it down !). So you do not have to touch it. Here is the typical procedure to start using the PC. |
| Line 15: | Line 15: |
| You can use the wireless mouse and keyboard (shown below) for controlling the PC. Make sure to turn the power switch of each device on before use. | 1. Turn on the projector using the remote controller. 2. Select the No.2 input with the HDMI selector using its remote controller (shown below) 3. Wait a while until the PC screen shows up. 4. Turn on the wireless mouse and the keyboard (shown below). {{attachment:KeyboardMouse.jpg||width=500}} 5. Turn on the wireless microphone (shown below). {{attachment:eMeet.jpg||width=500}} |
| Line 17: | Line 23: |
| {{attachment:KeyboardMouse.jpg||width=500}} | == After the meeting == 1. Turn off the projector using the remote controller. 2. Turn off the wireless mouse and the keyboard (this is very important, otherwise the battery will be empty). 3. Turn off the wireless microphone and connect it to the white micro-USB cable coming from the PC to charge it. |
Remote meeting PC in the Hokubu Kaikn 2F
Contents
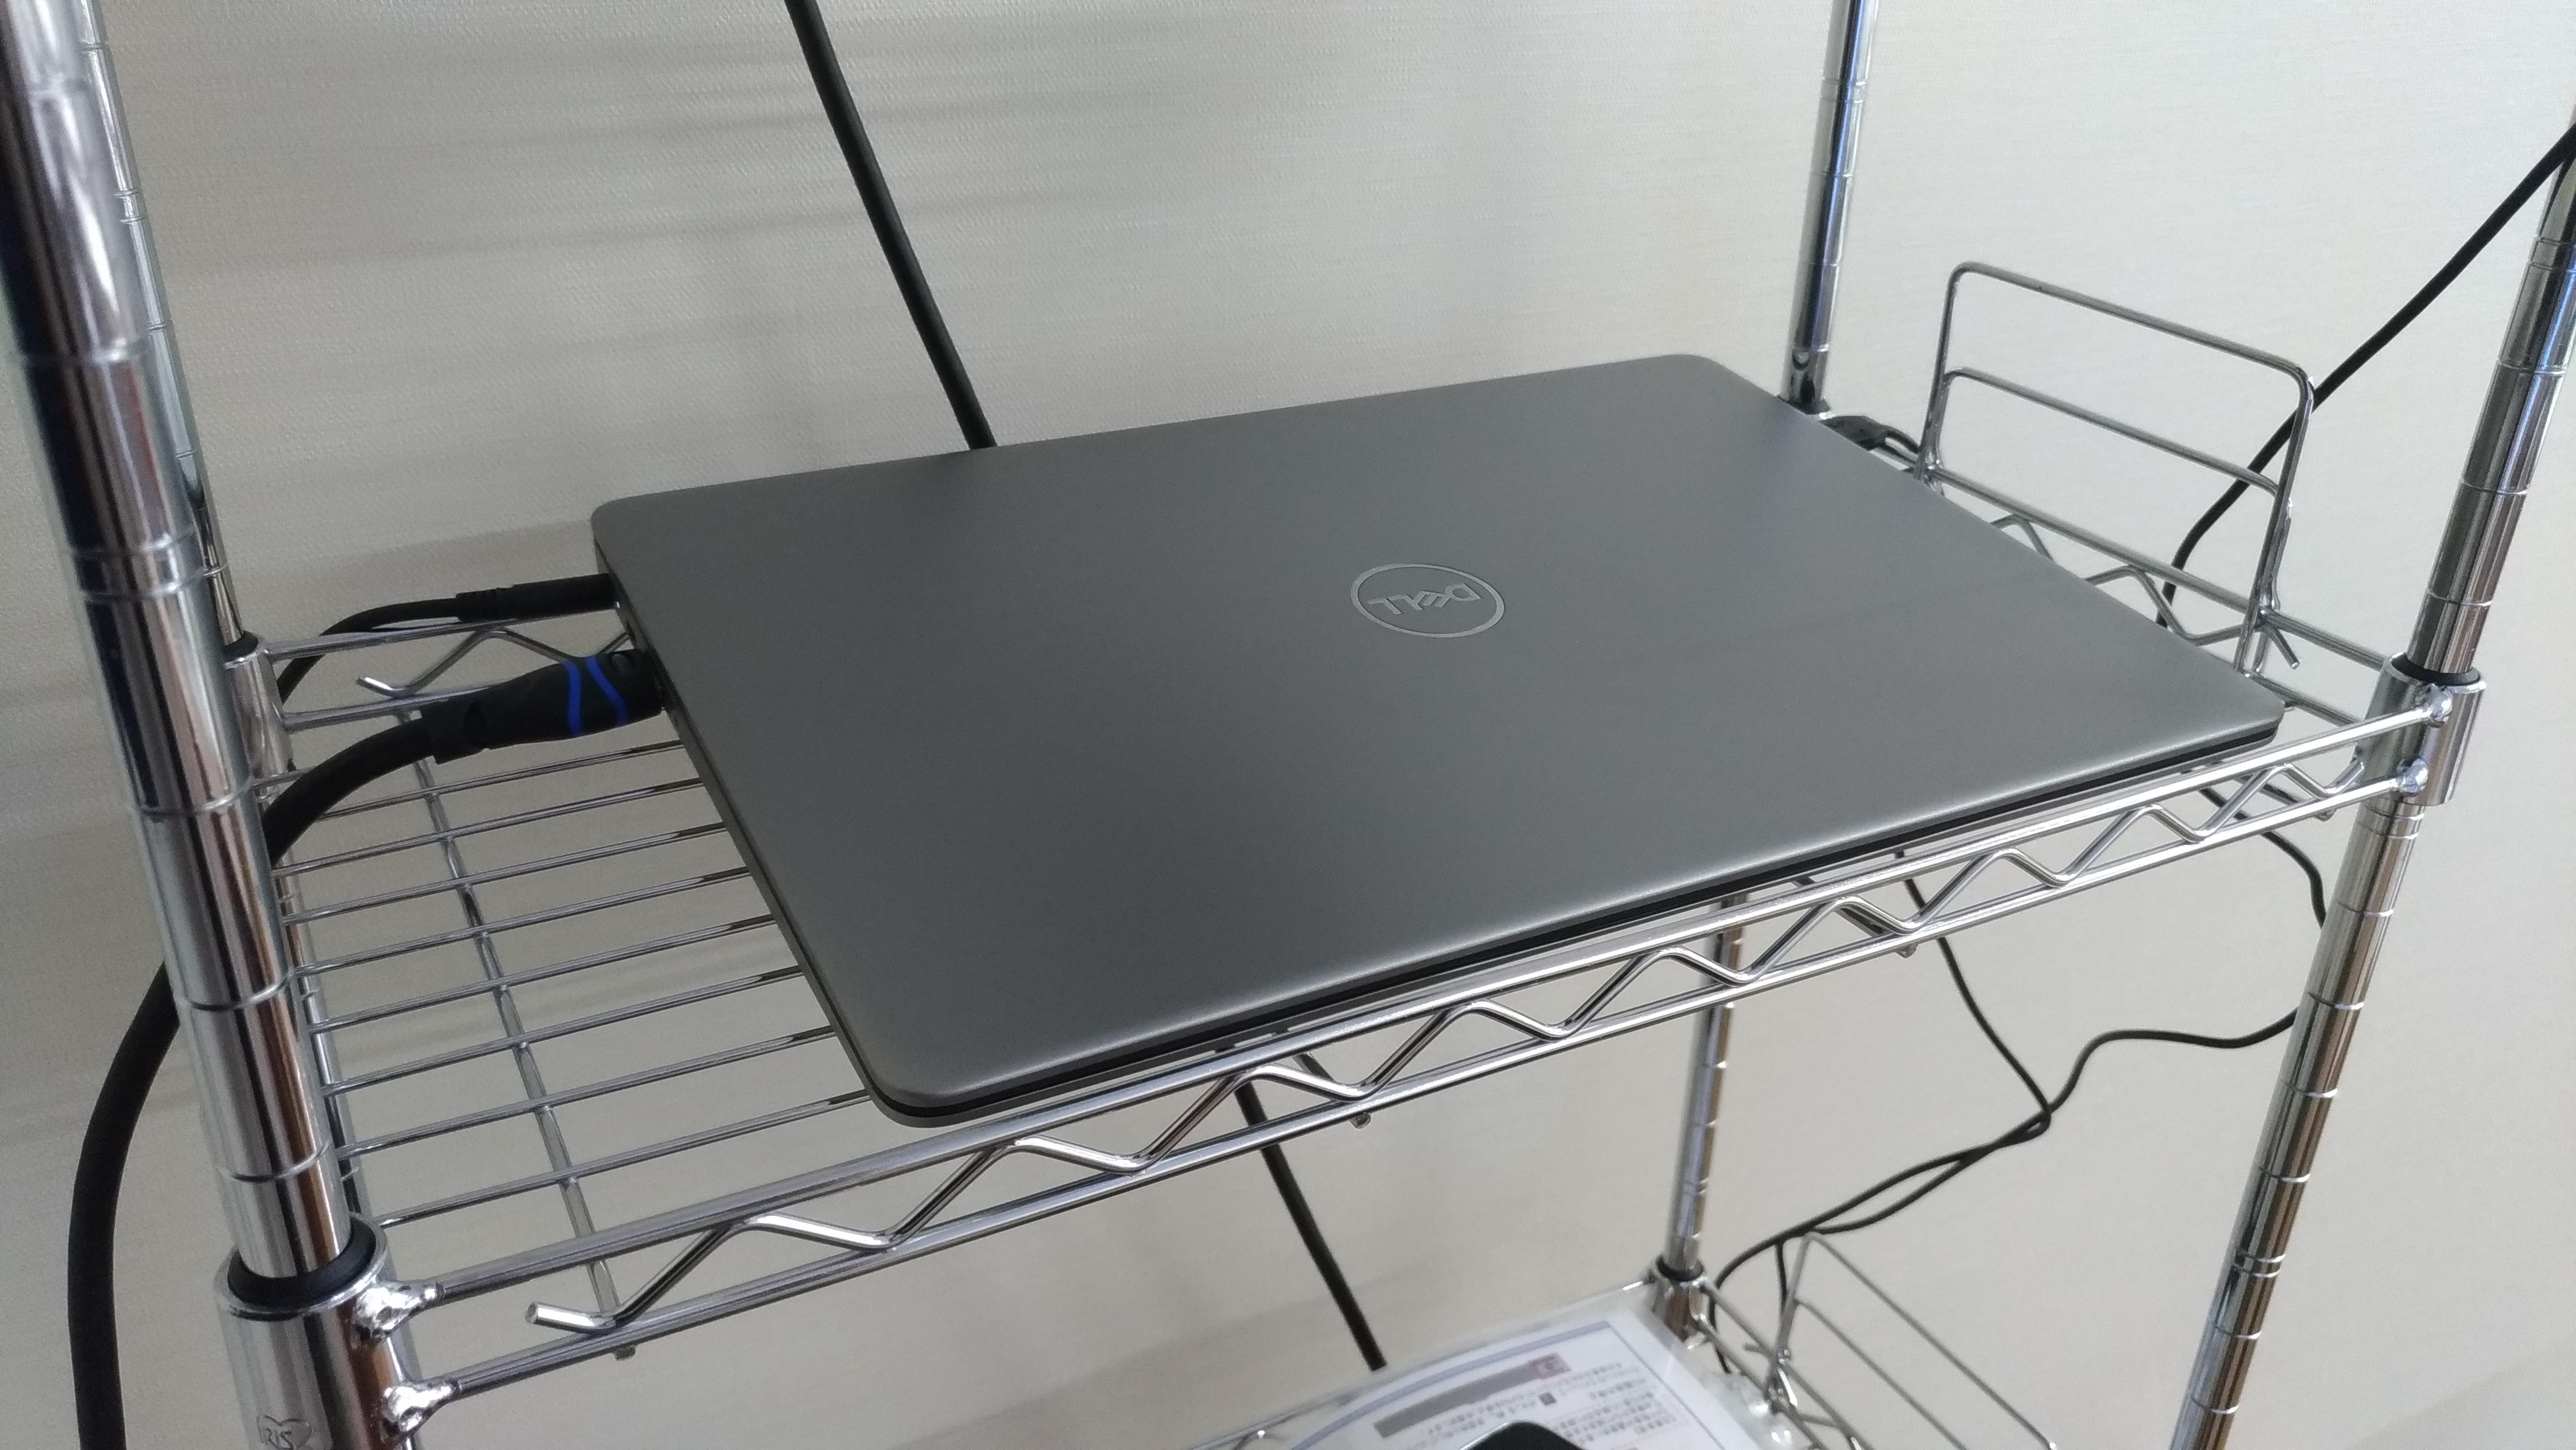
There is a DELL laptop PC to be used for remote meeting, i.e. Zoom and eZuce, in the 2F conference room of Hokubu Kaikan.
It looks like this:

Start using the PC
The PC is always powered on (don't shut it down !). So you do not have to touch it. Here is the typical procedure to start using the PC.
- Turn on the projector using the remote controller.
- Select the No.2 input with the HDMI selector using its remote controller (shown below)
- Wait a while until the PC screen shows up.
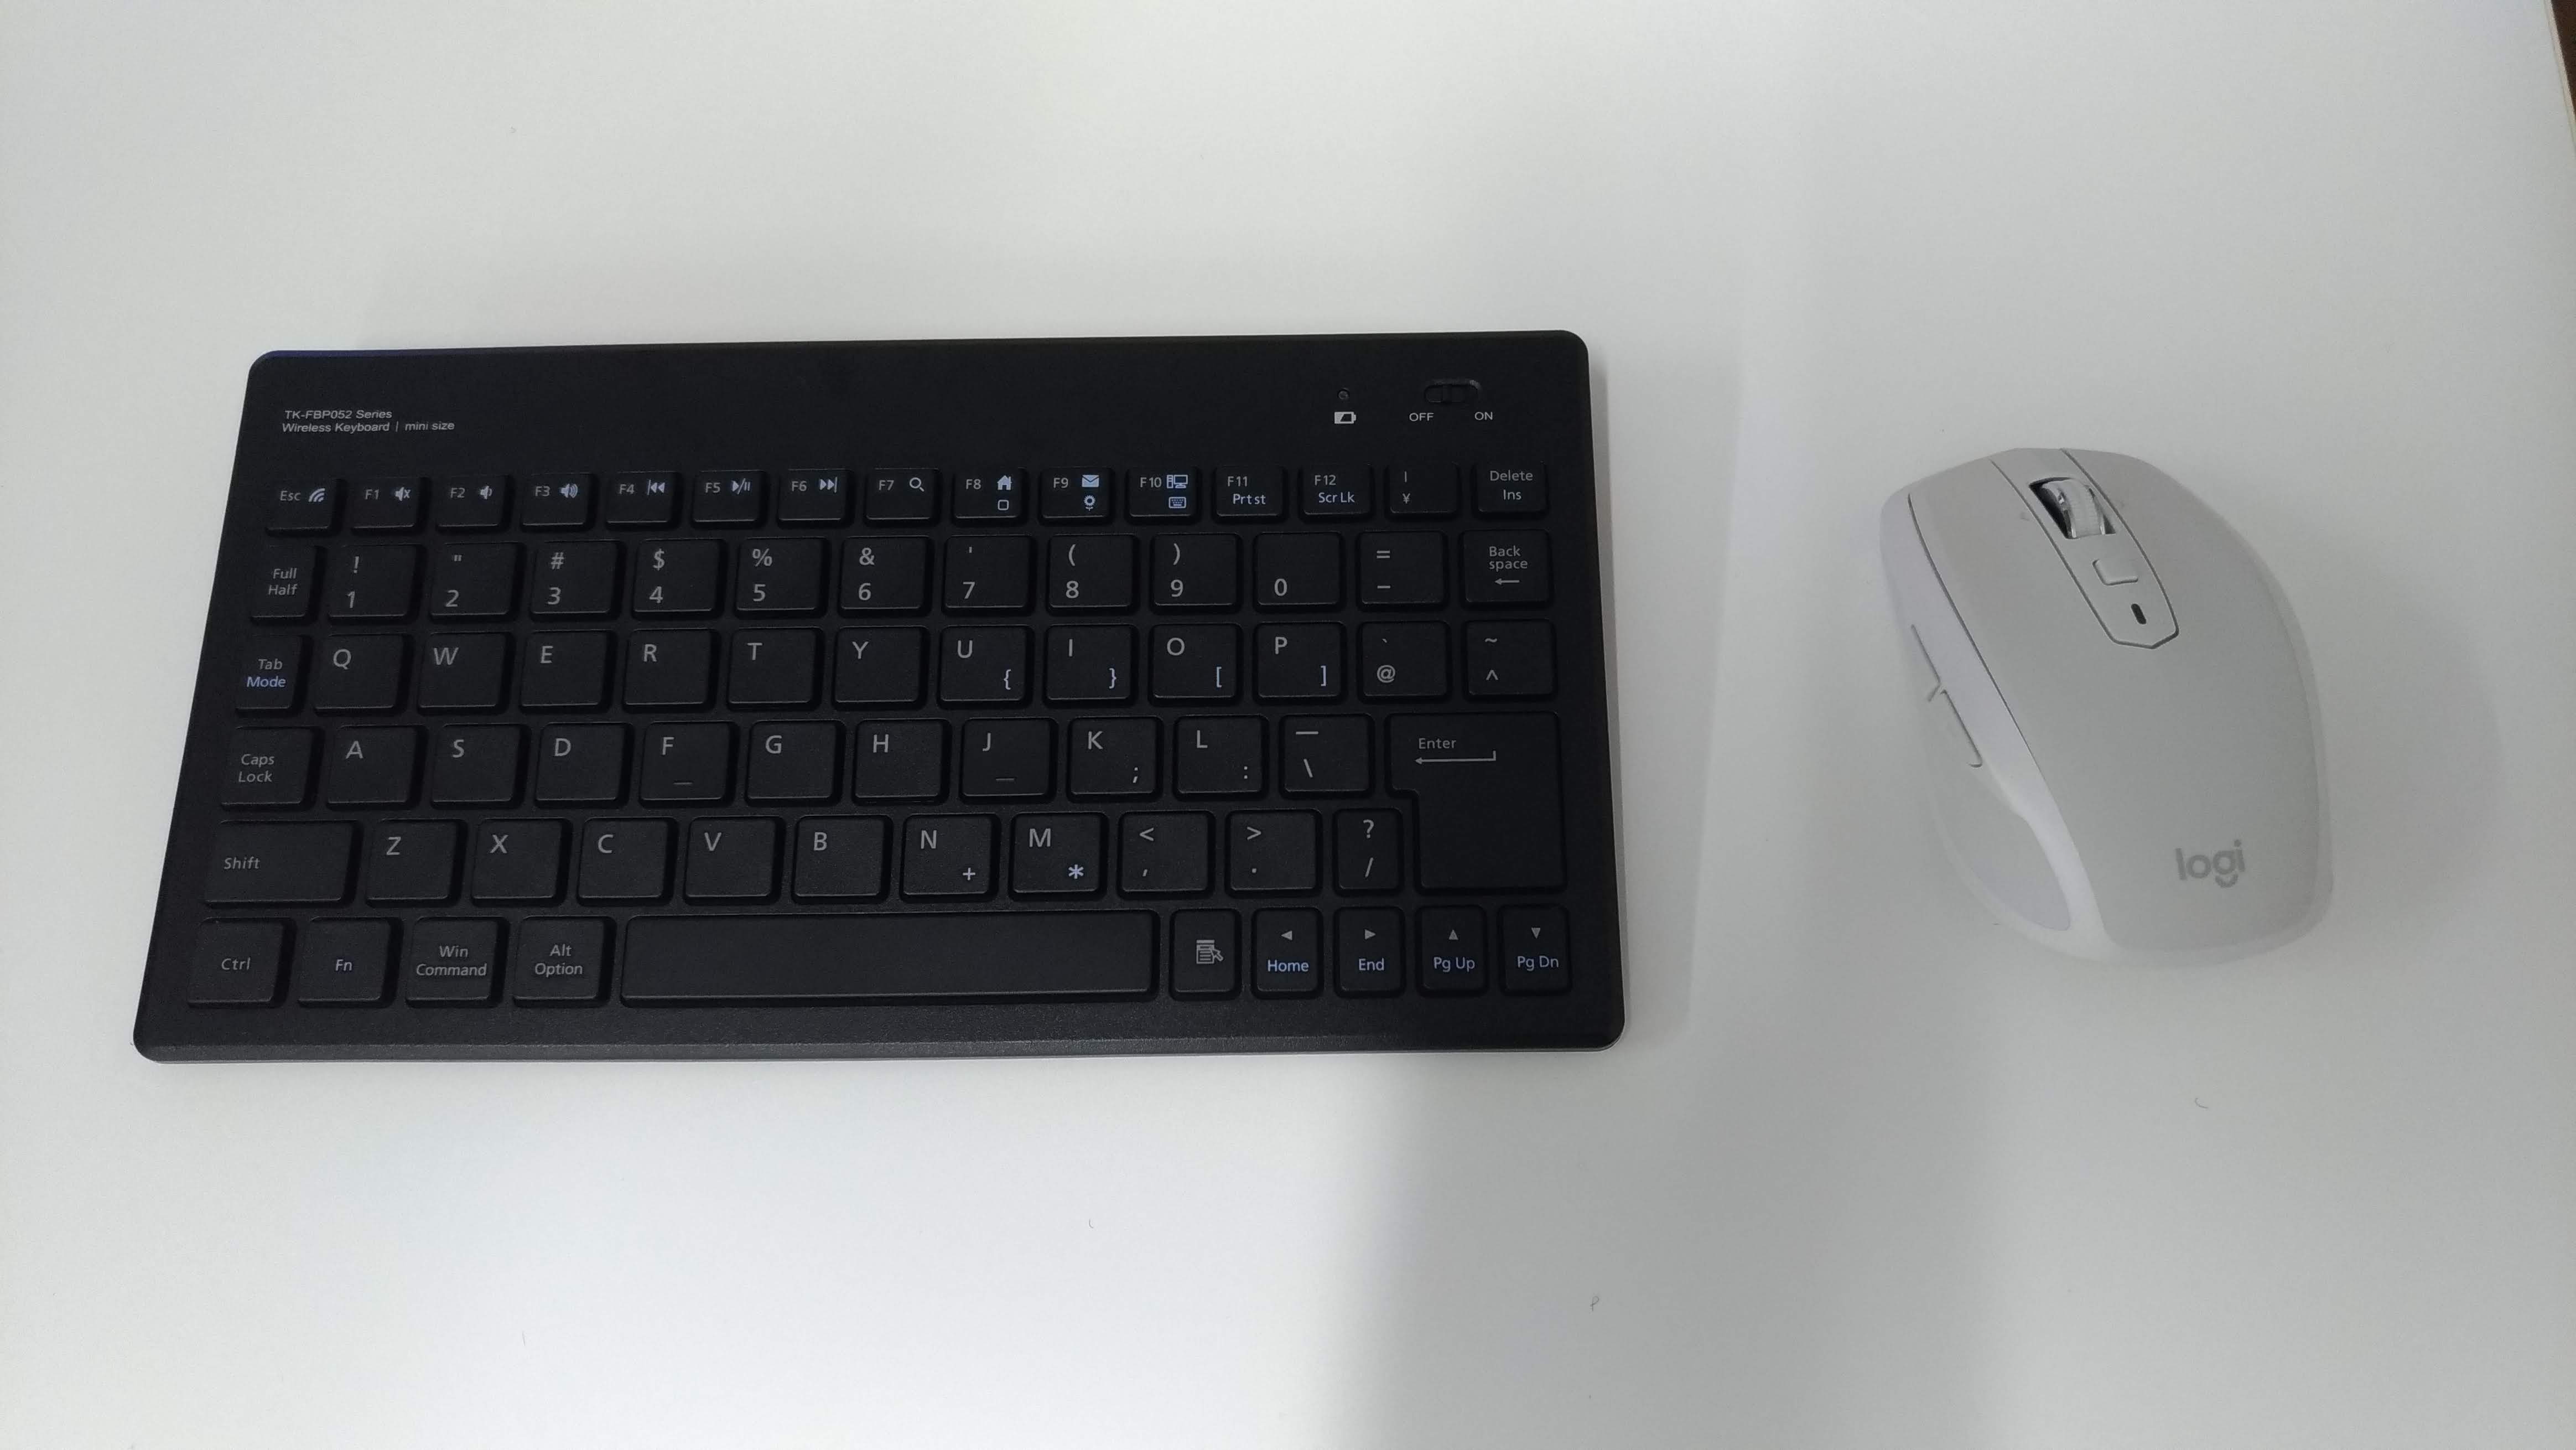
- Turn on the wireless mouse and the keyboard (shown below).

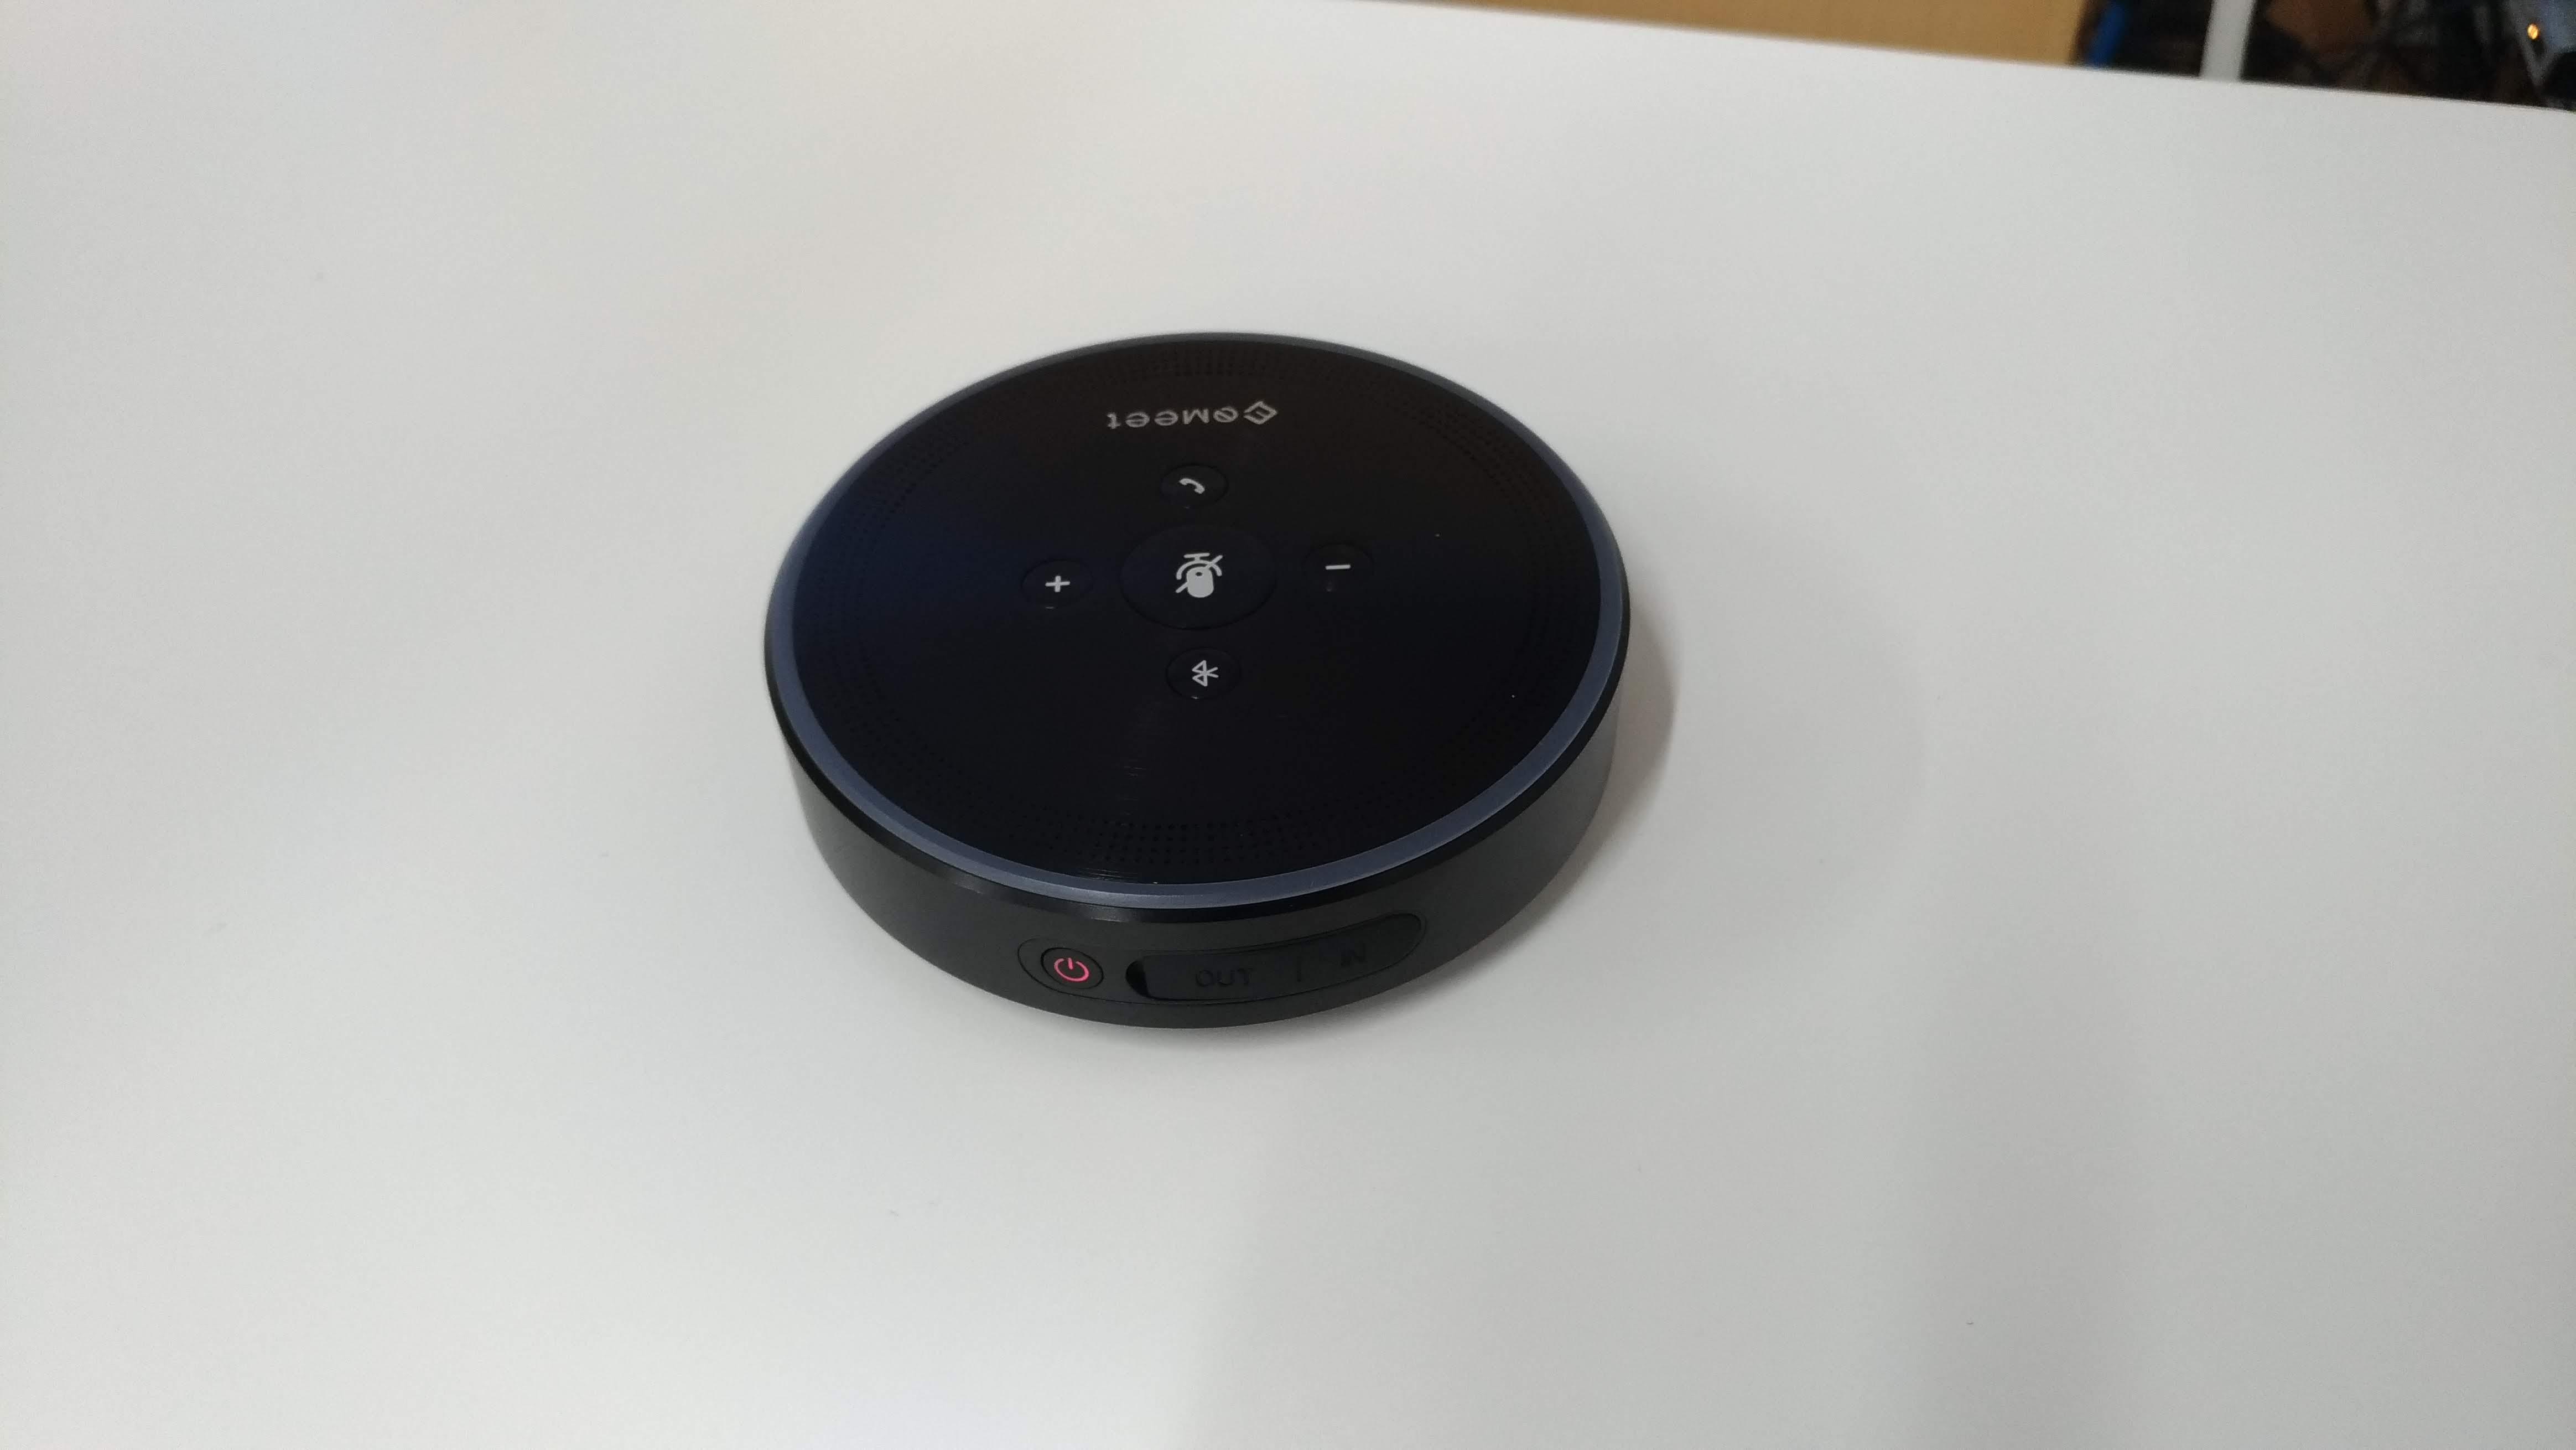
- Turn on the wireless microphone (shown below).

After the meeting
- Turn off the projector using the remote controller.
- Turn off the wireless mouse and the keyboard (this is very important, otherwise the battery will be empty).
- Turn off the wireless microphone and connect it to the white micro-USB cable coming from the PC to charge it.
Sound setup
There is a wireless microphone shown below:

It may be connected to the PC with a USB cable for charging. If so, disconnect it first. Then turn it on by long-pressing the power button. You can move it anywhere in the room so that the microphone can be close to the current speaker. Make sure that you turn it off after use. It is better to connect it back to the PC after use for charging the battery.
Even though this microphone has a built in speaker, the sound output from the PC is routed to the speaker on the projector through HDMI.
Video
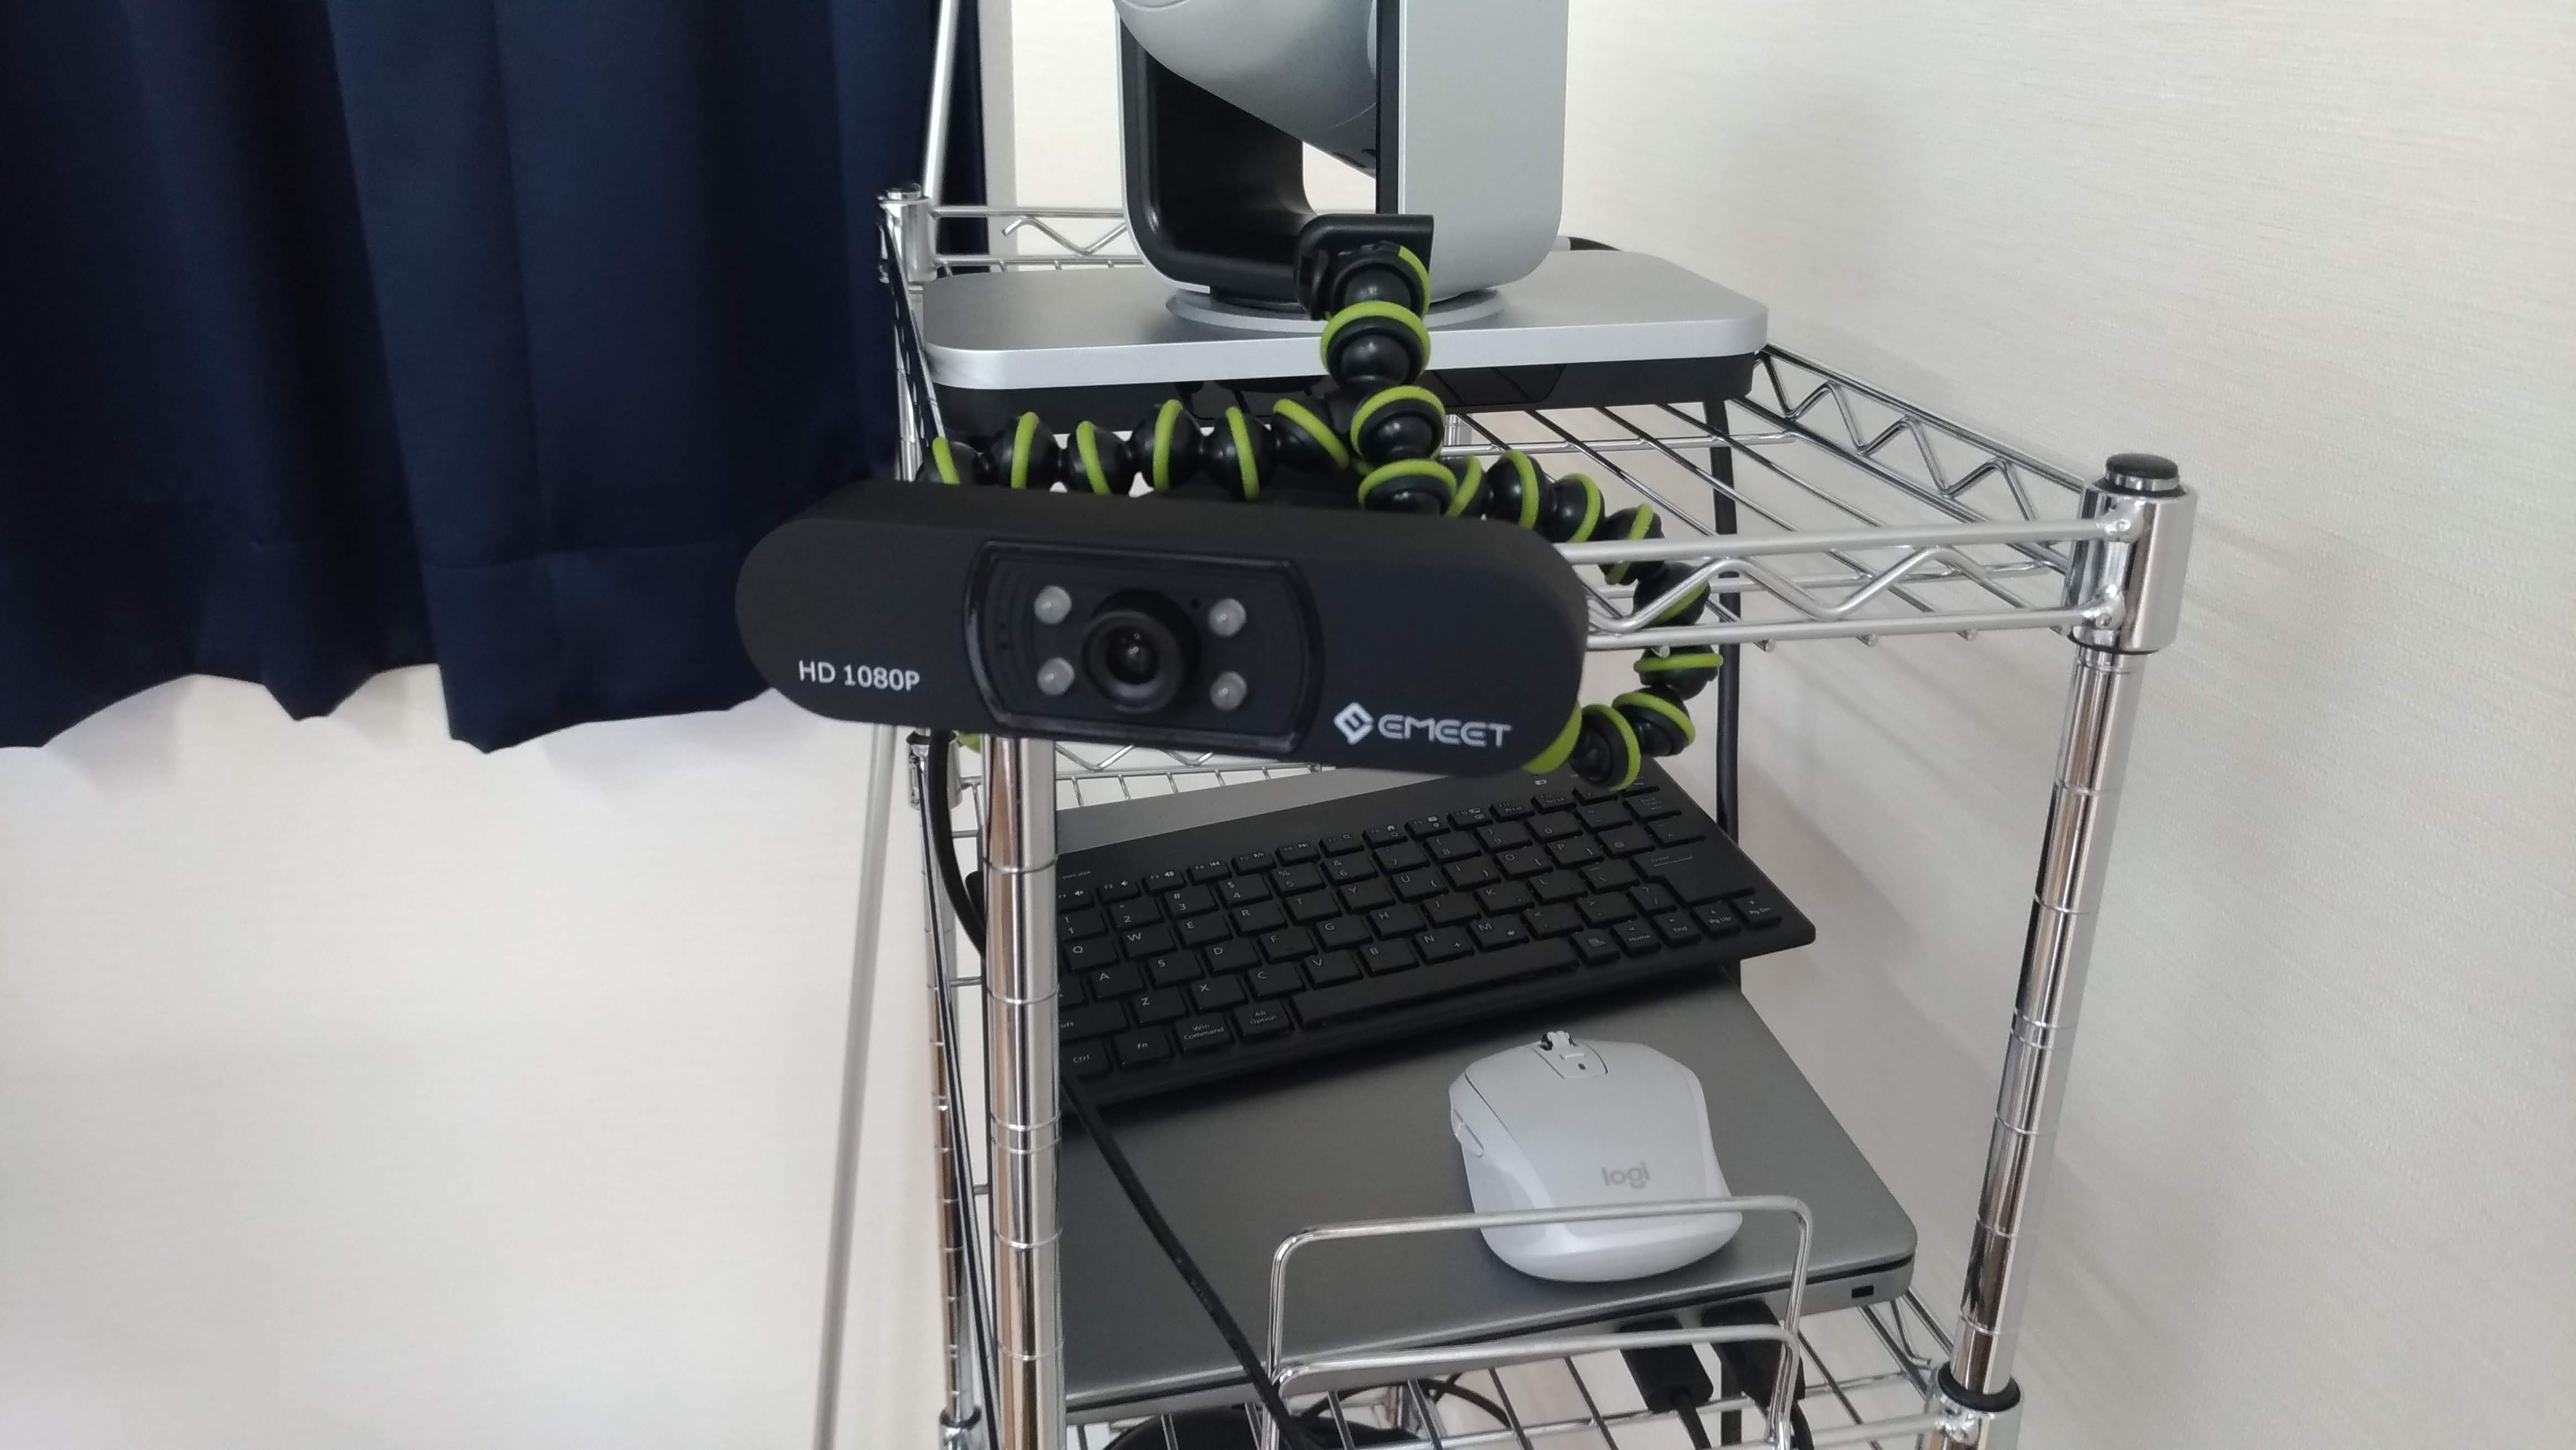
There is a web camera mounted on the silver rack next to the podium. By turning the lens, you can manually adjust the focus of the camera.

Launching remote meeting software
This PC has Zoom and eZuce installed and set up. There are icons to start Zoom and eZuce. You only need to double click them to start meetings.
After the meeting
- Shutdown the projector
- Turn off the power of the keyboard, mouse and the microphone.
Do not shut down the laptop.
Using Polycom
There is an HDMI selector in the silver rack. However, this selector blocks the transmission of audio signal. Therefore, the PC is connected to the HDMI cable directly coming out of the wall outlet, not going through the selector. If you want to use the Polycom instead of the DELL laptop, you need to unplug the HDMI cable from the PC and hook it up to the back of Polycom.
